Saturday, July 31, 2021

Assembling Frames #2

After assembling frame E, I continued the frame assembly process from smaller to larger and more complicated frames. The next frame I assembled was frame D. It's still relatively small and simple, with all pieces fitting on my workbench. By the time I was assembling the second frame, I already had the basic skills and confidence to be able to do this well.

I started to get a good feel for how much epoxy was needed for each job, so I was able to mix small batches quickly and accurately and not waste excessive amounts. As per the advice of experienced boat builders, I always pre-wetted the surfaces with unthickened epoxy, then added microfibers to the epoxy to create a paste that cures into a very strong structural bond. When assembling bigger pieces, it's also important to measure diagonals to ensure the frame is square. Generally, 80% of the time goes into laying out and pre-drilling frame components to ensure all is laid out according to plans and matches dimensions. The epoxying step is the fun part, and if you do the prep work, it's like butterring up the slices!

After frames E and D, I moved on to assembling frames B & C. While these two frames don't have any solid ply components, they are getting on the large size and thus checking for squareness is very important.

Lastly, I built the frames P (stern), A (cockpit), S (companionway), and D1 (main watertight bulkhead with compression posts). Frames P, A and S are actually quite straightforward if you're building from a kit like I did because all the guidelines for where the timber pieces go are pencilled on the plywood panels.

Frame D1 took the longest in the end since I had to prepare the oak timber components for the keel beam, posts and mast beam. I laminated and notched these before assembling the frame.

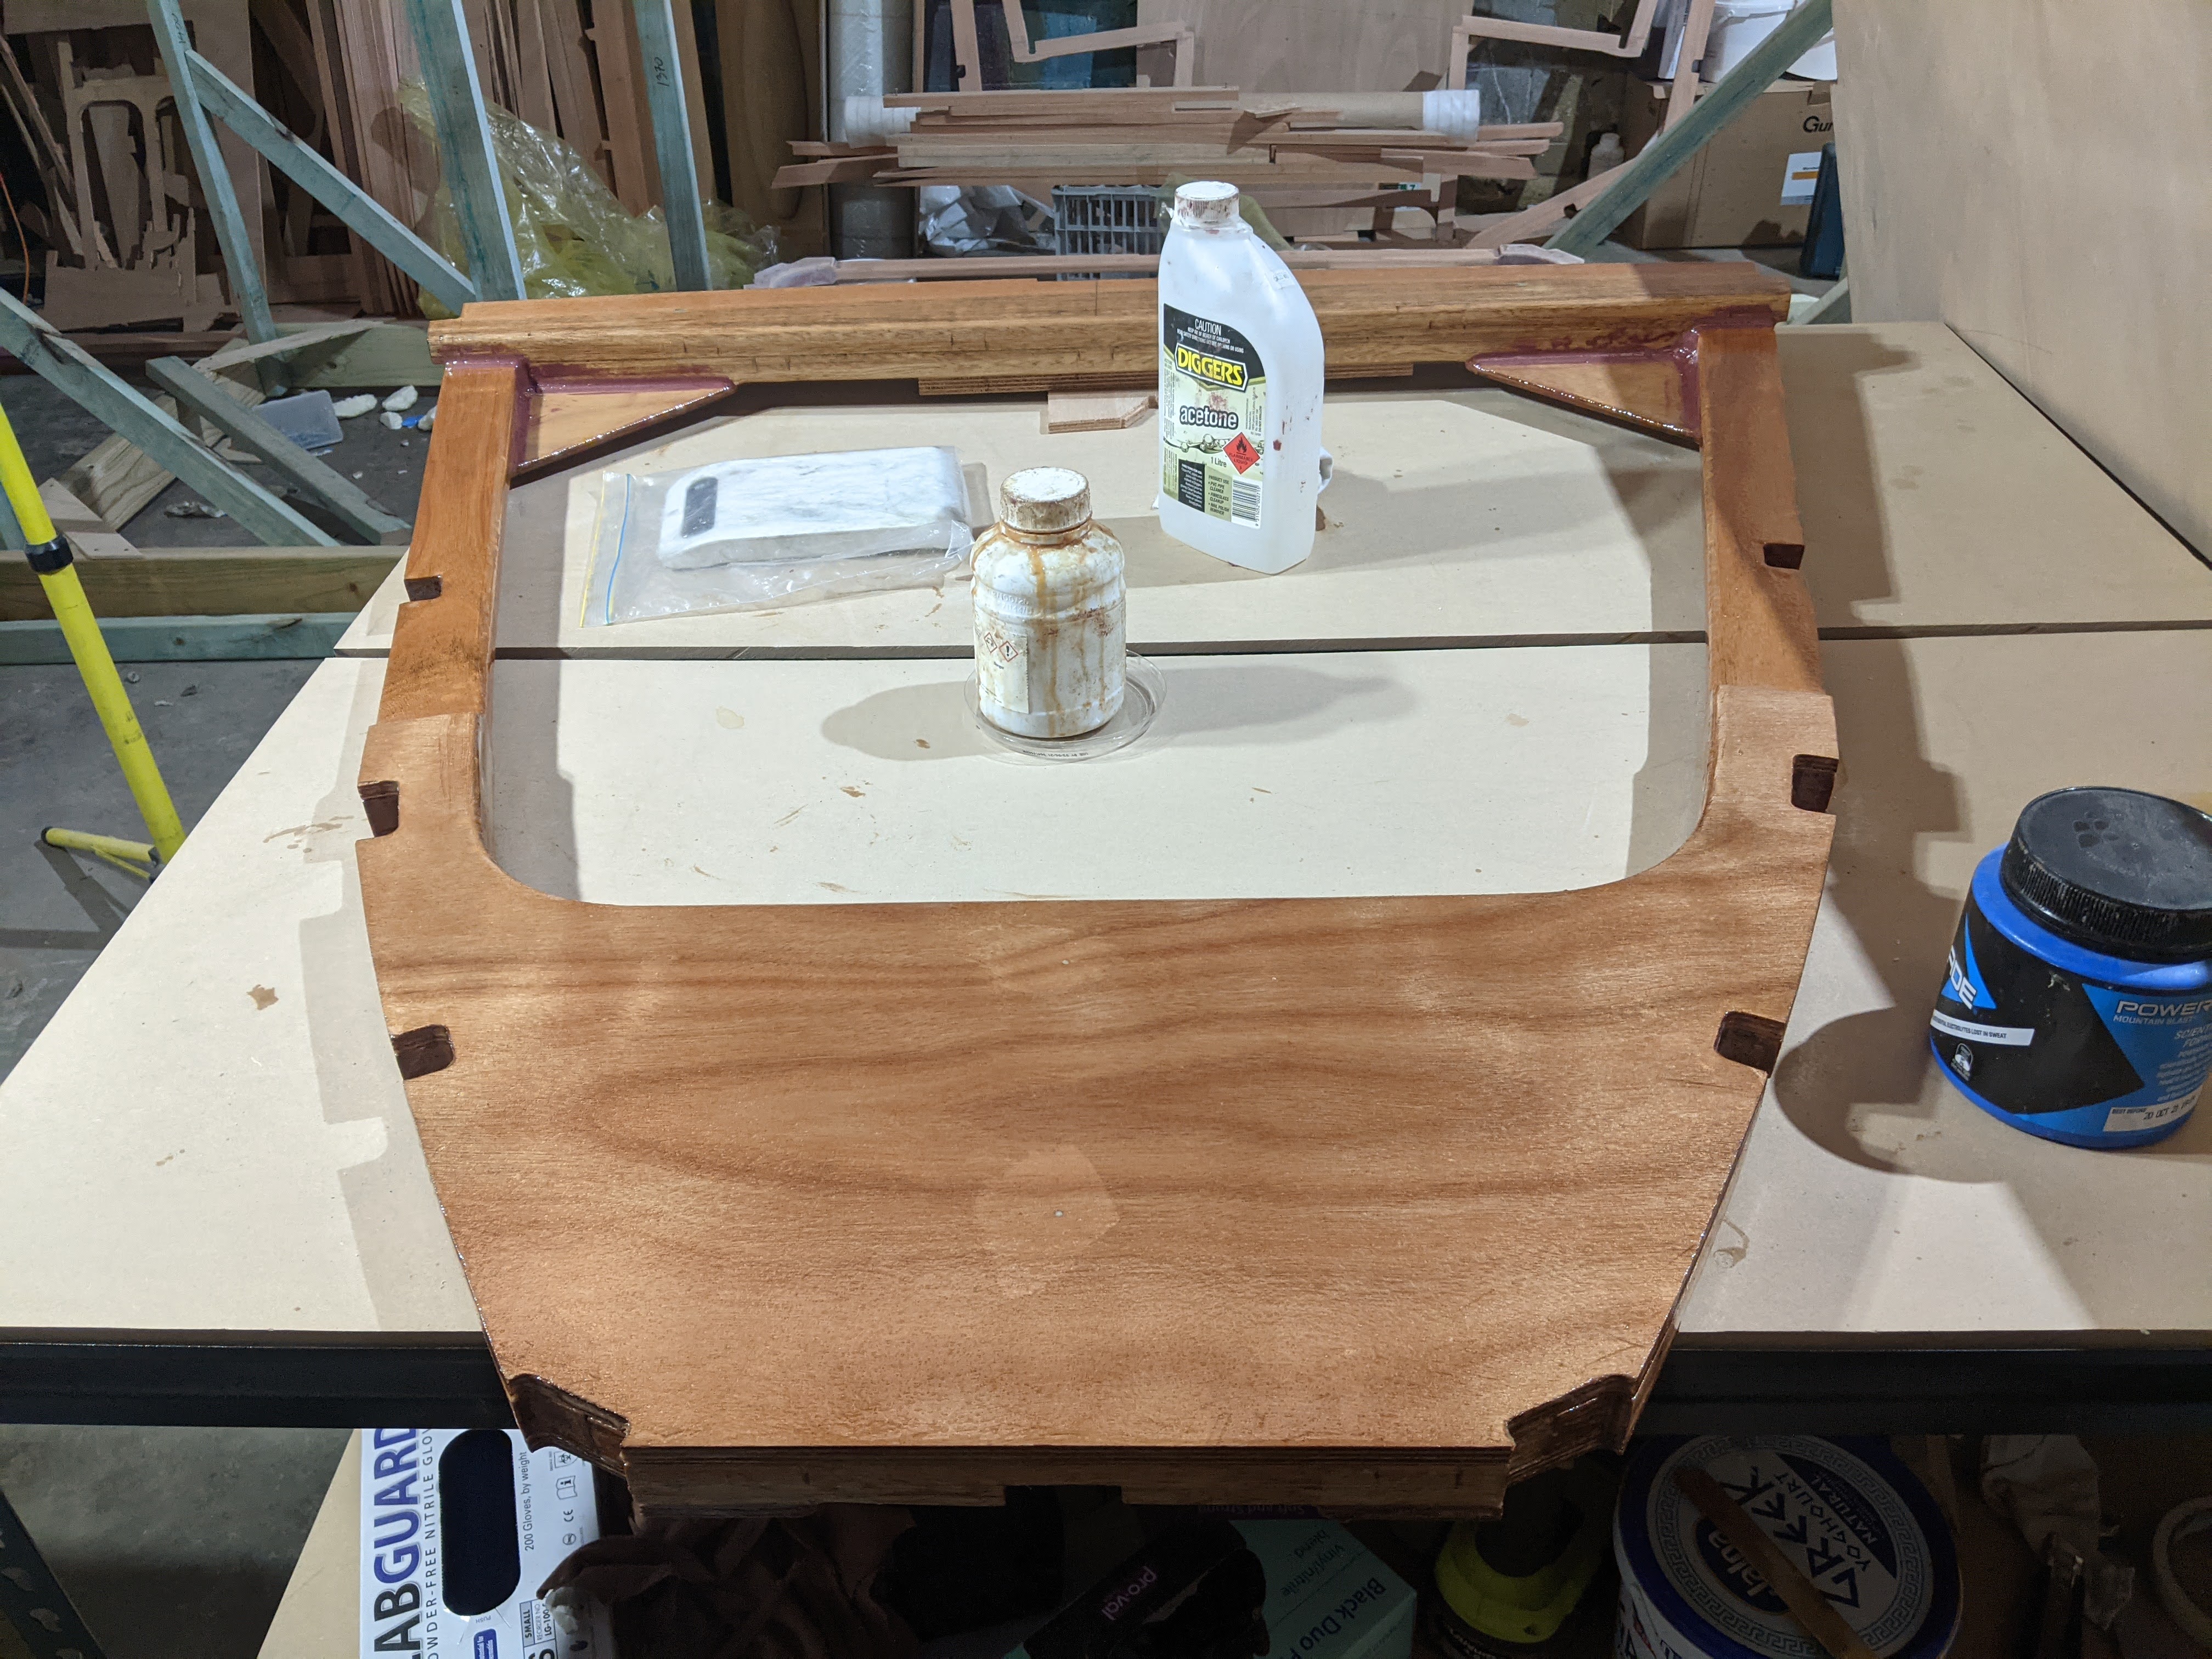
Lastly, I decided to finish all frames for both aesthetics and practicality. I filleted all the inset corners, routered and sanded outer corners and filled hollow corners. All frames were coated with three coats of clear epoxy. These finishing touches are not essential and could save a lot of time if you skipped them, but in hindsight, I am very glad I was pedantic and did it.

The timeline for frame assembly and finishing was roughly from April to July 2021. I was still working full-time during most of this time, so I generally worked on the boat in the evenings. It probably took me, on average, 2-4 hours to build each frame, from laying out the pieces to epoxying. The finishing touches took another 6-8 hours per frame.


Wednesday, June 30, 2021

Constructing a Jig

The plan sheet for a jig or strongback only came with the kit plans. It wasn't immediately clear to me what lengths and sizes of timber I should buy so I had to sit down and decipher. I also happened to get to this stage right at the nationwide timber shortage, haha. Several trips to Bunnings, the biggest hardware store chain, proved to be futile since the shelves were empty. I was also cautioned against buying timber from Bunnings due to its supposed inferior quality i.e. difficult to find relatively straight long sections of timber. So I sourced a more local timber supplier, Naturewood in Capalaba and drove there to place the order face to face, equipped with a spreadsheet of printed out sections and a copy of the jig plan sheet just in case.

I explained to the gentlemen that I'm building a boat and I need timber for the strongback. They looked at me somewhat incredulously until I whipped out my printed sheets. Lucky they had suitable timber sections in stock and were able to deliver them the next day. I ordered 140x45 for the base and 70x35 for the posts. I also bought 75mm screws, metal corner brackets, nails, a cheap sheet of plywood for the gussets and builders wedges.

Then I set to work with a circular saw, first marking and cutting the base timber sections to length and roughly aligning them on the ground. The unevenness of the floor in the shed became painfully obvious and the builders' wedges were really helpful. I used the corner brackets as a temporary way to fix the sections, but I would say that isn't necessary at all. Once I had the base level on the floor, square and all the cross braces fixed in their positions, I installed corner gussets to really fix the base.

Then it was time to cut the post sections which is straightforward as all heights are given on the plan sheet. It's more fiddly to fix them to the base. An extra pair of hands is really helpful at this stage. Since I approached this on my own, I clamped a spirit level to each post while I screwed it to the base so that it was plumb. Later I had to make some corrections as it turned out I was cross-eyed while doing this and some of my posts weren't plumb. Posts needed extra support with cross braces and here I think the jig needs more than what's shown on the plan. For example, there are no cross braces for frames A, D and E and they definitely need extra support. Frame A needs cross braces to prevent side to side movement, and frames D and E benefit from braces to reduce fore & aft movement. The angled posts for frame S will also need extra support. It may not be immediately apparent that they're needed but I think anyone would find out once they start installing stringers that tend to pull the frames out of alignment.

Once I had the jig constructed I had to place it in a final position on the floor. Initially, I placed it too close to the wall and I'm glad I moved it to give myself more space to work around the boat. Of course, because the floor is so uneven I had to re-check levelness and readjust all the wedges and little blocks of plywood and timber to prop it up. 


Saturday, June 12, 2021

Floor Beams

I laminated and shaped the keel floor beams in June 2021. Floor beams need to be made out of hardwood timber such as oak. The timber sections for beams were included in my kit. First I had to laminate them together and then use the templates to mark and cut the notch shapes. First I started by using a chisel to cut out the first notch but of course that took an excessively long time. Oak timber is hard so chipping away at it with a chisel is painfully slow. At the same time these beams are too thick to cut through them with a regular jigsaw, so at this stage I invested in a budget band saw (Ozito brand) which made the job an absolute breeze.


Monday, March 1, 2021

Assembling frames #1

After my kit arrived, the first step was to cut out all the pieces. That job alone took me two weekends. If I had one piece of advice for other new builders, it would be to just pick a frame they want to build first and cut only those pieces out and start assembling. Because once you glue the pieces together, you can wait around and do other stuff e.g. cut the rest of your kit pieces out. To set up a typical frame and glue the pieces together probably takes around 2-3 hours once you get used to it. Then you have nothing left to do but wait. While you wait, you can cut the next frame out.

Like many other builders, I started with frame E. My logic was that it's the smallest and therefore seemed the easiest to start with. It's not a bad frame to start with. As it was the first frame I put together I will say with no shame - it took me two days to do it. Why? Because I was overthinking it. I laid it out on my table first, then I pondered for a long time, how I should do it. Pondering took at least 80% of the time... the actual work, only 20%.

I laid out all the timber pieces on the table, lined with a white sheet of plastic. Then I screwed them down to the table so they wouldn't move. In hindsight, this approach was a bit of an overkill and didn't work well because you have to lift the pieces up to apply epoxy anyway. Some other builders suggested screwing scrap pieces of plywood in place as "guides". That's an option but I also found that to be too time-consuming.

My final refined approach to assembling frames goes like this: First, dry assemble the frame on the table by laying the timber pieces out. Measure dimensions and ensure they match the plans, particularly the diagonals. Then carefully without moving the pieces, pre-drill holes into the plywood gussets. On the first pass, I typically only drilled two screws into each gusset piece to join it with the two timber pieces. This way, I could remeasure everything after I semi-fixed the pieces in place. If anything was not perfect to the milimitre, I could still do fine adjustments. Then I pre-drilled the remaining screws into place. This made my frames ready for glueing. If I hit the pre-drilled holes again I could be sure that I'd end up with a square and symmetrical frame. Then I unscrewed all the screwed to a point where they were still sticking out of the plywood gussets by a millimetre or two. This way, once I had the glue applied, I could easily line up the screws back into their pre-drilled holes.

So once the prep was done, it was time to mix the epoxy and thicken it into adhesive consistency with microfibers. I'm working with Gurit AmPro epoxy system, which gives me a simple 1:3 by volume mixing ratio. By weight the mixing ratio is slightly less for hardener but it's barely noticeable e.g. 29:100. I thought I'll get myself pumps to make the job simpler but unfortunately I was only able to get the right size of pump for the 20kg resin bucket. Pumps for hardener canisters are still not in stock to this day due to shipping delays, so I gave up. As an alternative I weight out the amount of hardener with a kitchen scale. I have to trust it and it tends to work pretty well if I keep the batteries charged well. Each pump of resin is about 32-33g of resin, so that means I need to mix in just over 9g of hardener. The accuracy of the scale is 1g so this is what I have to work with. It's not 100% accurate but it's accurate enough for the resin to harden reliably. I found that I preferred to mix epoxy by weight, rather than by volume.

Once the glue is applied and the pieces are screwed together, it's time to apply some pressure and leave it to cure. I used a random assortment of bricks and pavers to do this. It's also a good idea to put plastic on everything that touched epoxy so it doesn't accidentally bond to something it shouldn't.


Monday, February 1, 2021

Intro

Hello world - I'm building a mini ocean racing sailboat! Yup, I really am.

Sometimes all the things in the world just happen to fall in place at just the right time. This is how my Class Globe 5.80 journey started. I had dreamt of participating in the Solo Trans Tasman Challenge for some time but that still seemed like a distant not easily achievable goal. I had no boat and only a small budget, so I was thinking of buying a class mini 6.50 boat. They're very rare in Australia. In fact, there was only one for sale in Western Australia when I was looking. For a greater selection of boats for sale, I would need to look overseas.

Anyway, to cut a long story short. COVID-19 happened and I was helping my friends with their boat restoration project and Annika mentioned the Class Globe 5.80 project, which was just launched and casually said Thommo and her were thinking I could build one in the corner of their shed. It didn't take me long to jump at the opportunity. I bought a set of plans for 300EUR and with that, I made my first commitment. I started planning how I would build the boat. Where would I source the materials needed, where to start and so on. The first major choice was deciding whether to build from scratch or buy a kit. I seriously considered building everything from scratch since the kit seemed quite expensive. I spoke to other builders and quickly realised a kit is a far better choice, especially for a first-time builder. Firstly, building from a kit saves an enormous amount of time and gets you started much quicker. Secondly, the precision of a CNC cut kit gives an extra level of assurance that the boat will turn out right.

I ordered my kit around mid-November 2020, with a lead time of 6 weeks. With a minor delay my kit was delivered at the end of January. The shipping company told me what day they'd deliver the kit with a truck so I could be there to take the shipment. Thommo was also at the shed when the truck arrived and he offloaded the pallet from the truck. This was it! I stood there, excited like a child but also feeling a little awkward. What now? Oh my god, I'm really building this thing.

The kit package looked like a slightly bigger version of flat-pack furniture you'd buy from IKEA 😂 We cut it open and started inspecting the contents. A bunch of marked plywood sheets and timber panels. The kit pieces were still tabbed into the panels, so first I had to cut them out with a jigsaw.


Keel Fin

We drove about 120 km to Noosa to pick up my keel fin from John. Four Australian builders joined forces to engage a steel fabrication compan...